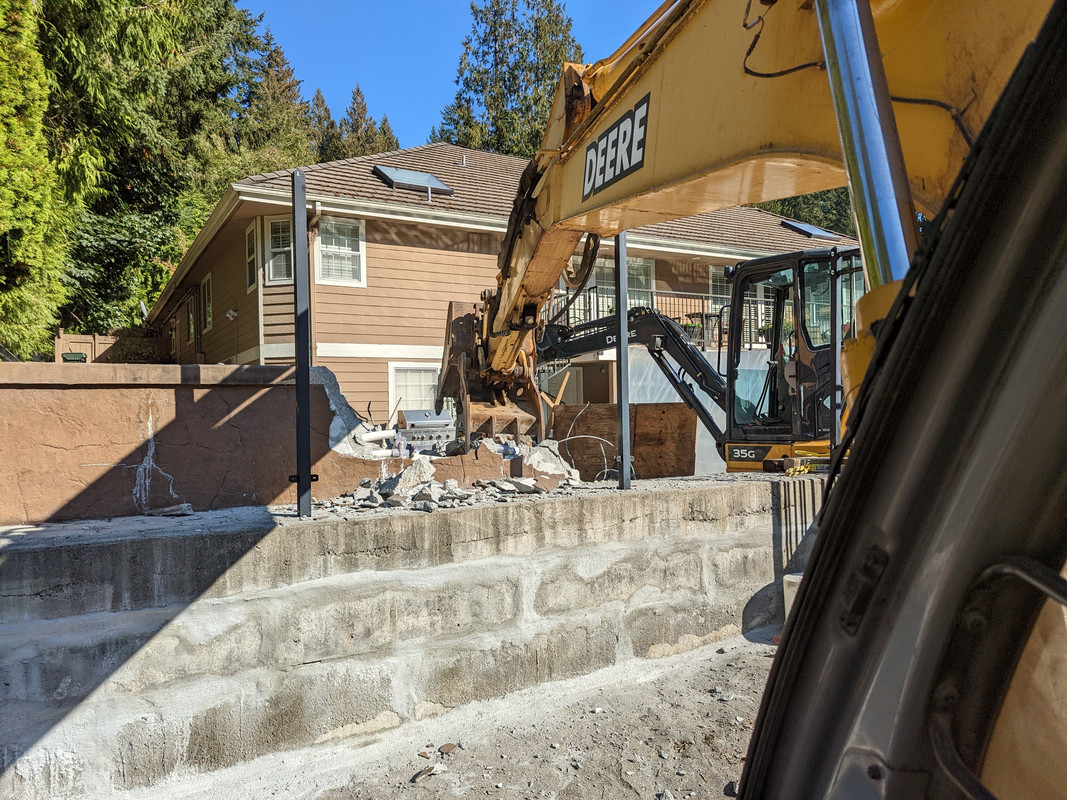
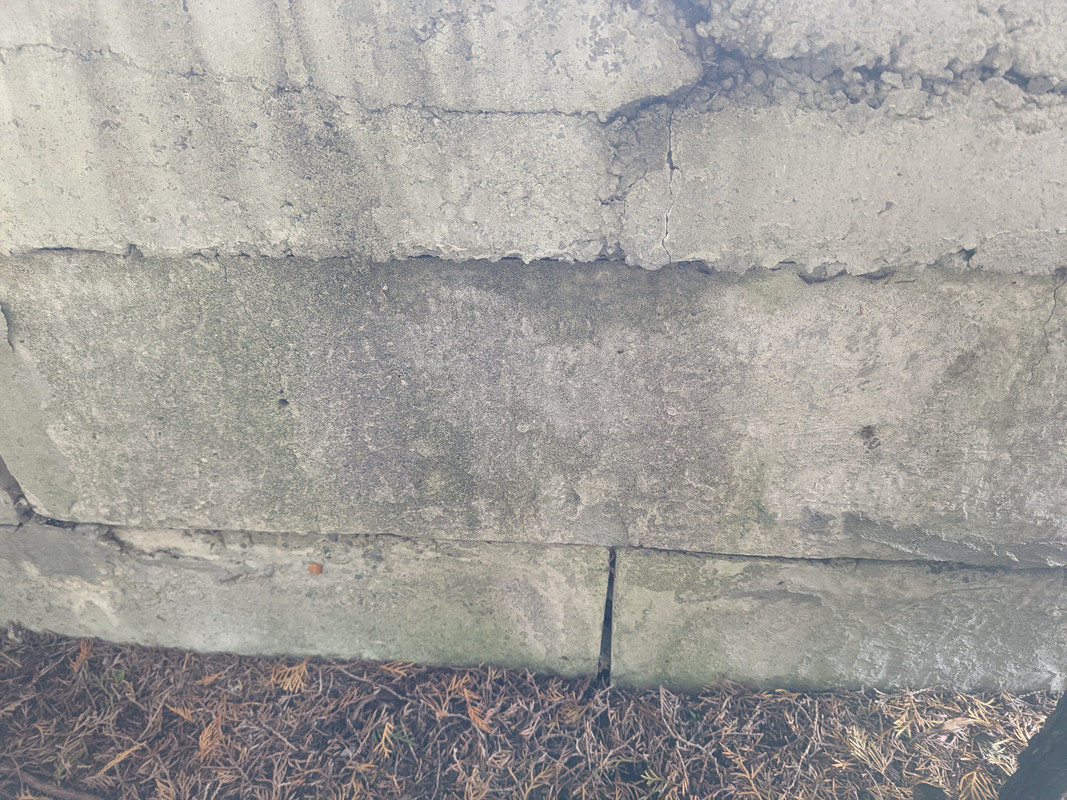
The concrete risers are showing age with some gas/vapor deterioration around the top edges, just under the concrete lid covers. Risers in question are for the removable filter tank, and aerator tank riser. Older septic with gravity drain, if it matters.
Guessing I'll need to rebuild up to 3/4" in some small pockets that have structural wire showing. The lids themselves are 40 or 50 pounds each, but everything is above grade and not walked on.
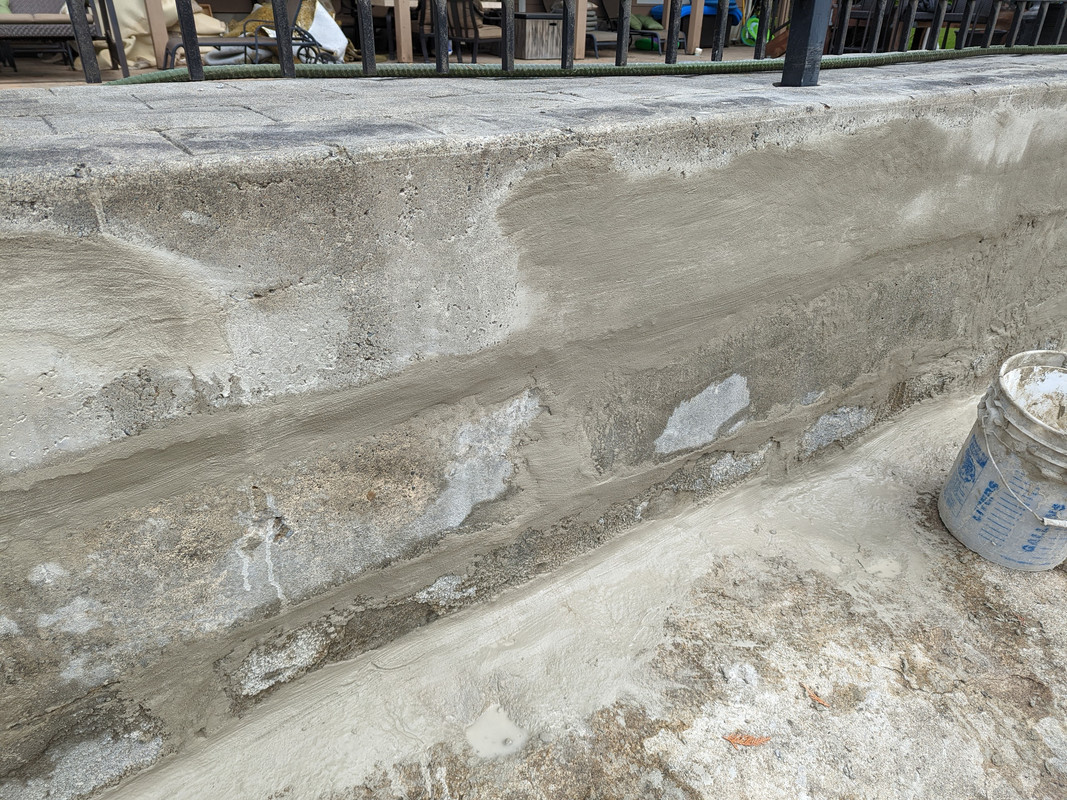
Would I use something like Quikrete Quick-setting Cement with a Sika Masonry Bonding Agent? If so, what kind of water to Sika ratio should I use? Think the stuff is 10 or 20 pounds per container, locally, so will be using that. Once finished, I'll seal the risers with some type of sealant, probably asphalt.
Guessing I'll need to rebuild up to 3/4" in some small pockets that have structural wire showing. The lids themselves are 40 or 50 pounds each, but everything is above grade and not walked on.
Would I use something like Quikrete Quick-setting Cement with a Sika Masonry Bonding Agent? If so, what kind of water to Sika ratio should I use? Think the stuff is 10 or 20 pounds per container, locally, so will be using that. Once finished, I'll seal the risers with some type of sealant, probably asphalt.