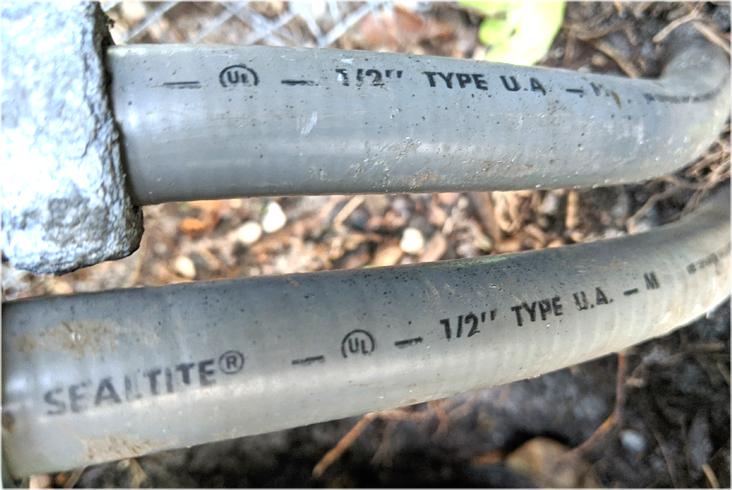
I need to extend a LiquidTite conduit by another 12".
Yes I agree best way is to replace it with a longer version and not worry about extending, but in my case, the two existing LT conduits' other end are buried, and possibly encased in some concrete below grade so my only choice is extension.
I do not see an compression coupling for this purpose. All the fittings I can find are either straight or 90 with one compression connection and the other connection is threaded to connect to a box. So to do this I would need three fittings? A straight connector + a rigid threaded coupling + another straight connector? Is this right?
I mentioned that to a neighbor who worked for an electrician outfit some years ago and he said he has always used a PVC coupling, and used PVC cement to glue two ends of a LT to connect. I said my understanding is LT connection has to be mechanical but he said that's what they do for years and it has always worked fine. Who is right?
Second question, I need to connect three 1/2" LT connection to the bottom of a 4X4 weatherproof box that has three 1/2" threaded holes at the bottom. Theoretically this should work but there is an issue because the holes are so close together while the LT connectors are very bulky, so there is no way I can tighten the middle connector with a plier or a wrench because a wrench will not fit in between the first and third connector. Is there a trick someone would share? I cannot do the connection one at a time because all three has to be threaded into all three holes before I can insert the conduit, and by that time, it's already too congested. I am actually considering using two boxes so I can do this but want to ask if there is a trick. Another workaround I can think of is to connect to the bottom of the box three PVC male adapters, then three pieces of short PVC conduits, then three female adapters to connect to the LT compression connectors.