

Hello,
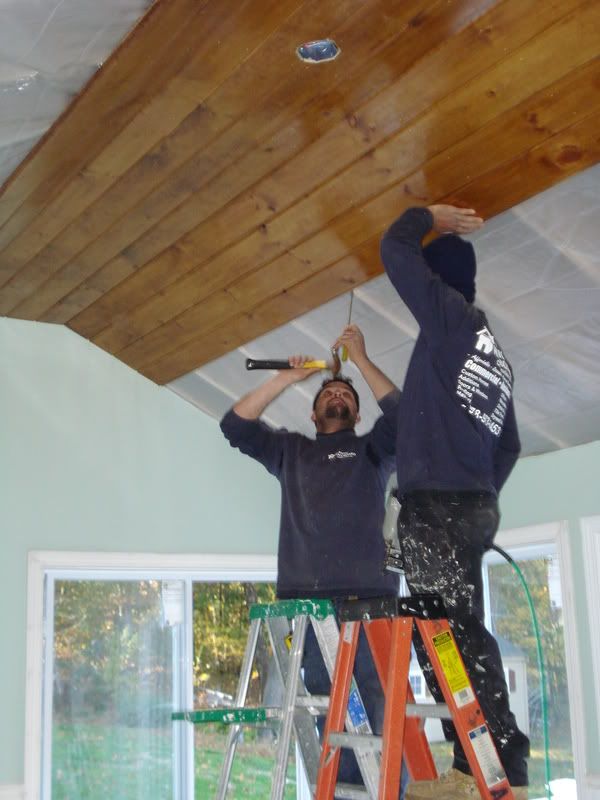
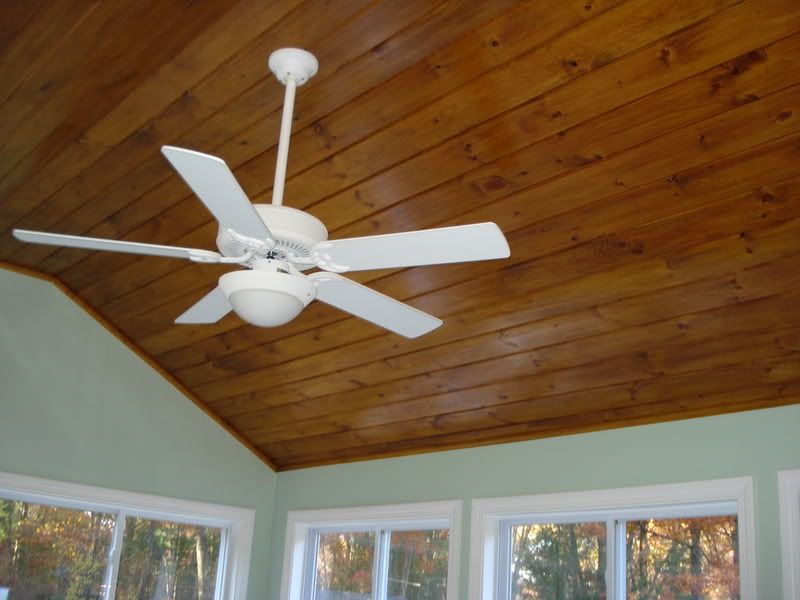
We are adding a new sunroom to our home and would like to put knotty pine on the vaulted ceiling. The room is 12WX18long. Ceiling is 15 foot high and walls are 10 foot high.
I was hoping someone could give me some helpful information on installation. We don't want to pay expense of "pre-finished" so we thought we would go to a lumber yard to buy the knotty pine. I was interested if any one had any ideas on length size since the longest I can find is 12 foot long. Therefore we are going to have to cut and piece. Has anyone done this? Which width is better 4 6 or 8 inches.
ANY HELP would be greatly appreciated. I am a novice at building, but really like the look of the vaulted wood ceiling and want to put one in! thanks for the help

") Thank you!
Thank you!

