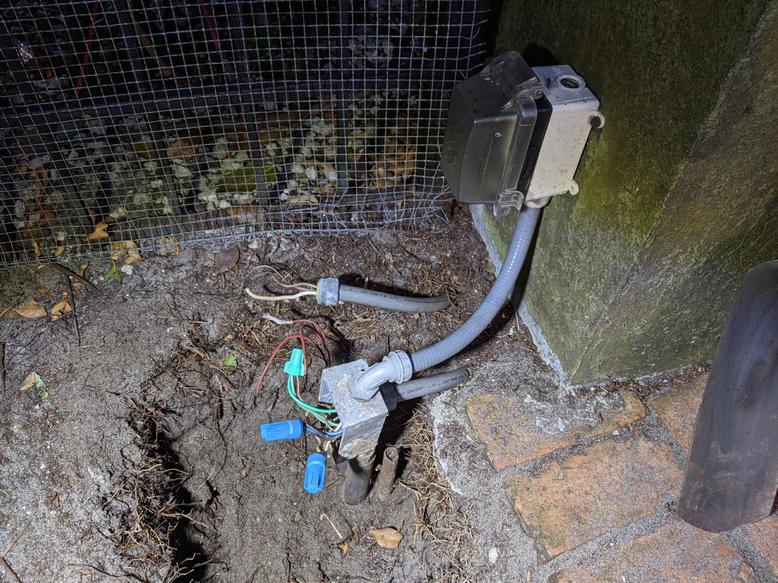
I have a pair of junction boxes that's half buried in dirt. They have been there since I don't know when several owners ago perhaps installed in 1990s.
One box is low voltage for an old alarm system with phone wires and door bells etc...which I am going to just cut and eliminate.
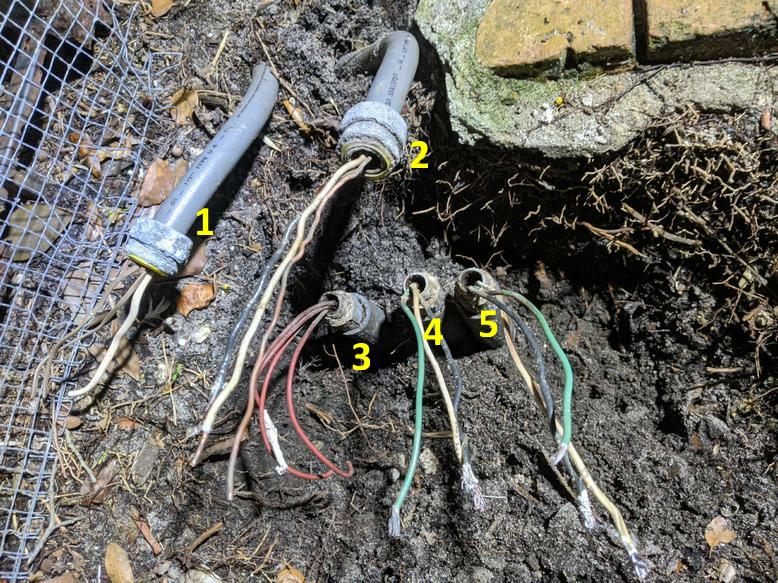
The other box I need to keep, it goes to a sconce by the gate, a motion light, an outside receptacle and there is a 4th line that goes somewhere I have yet to find the other end.
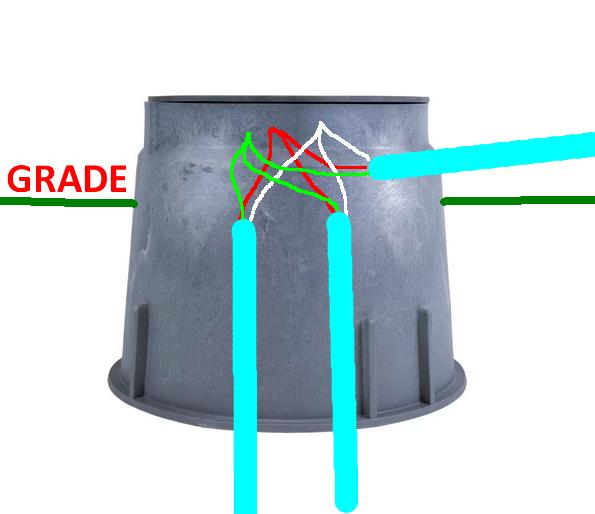
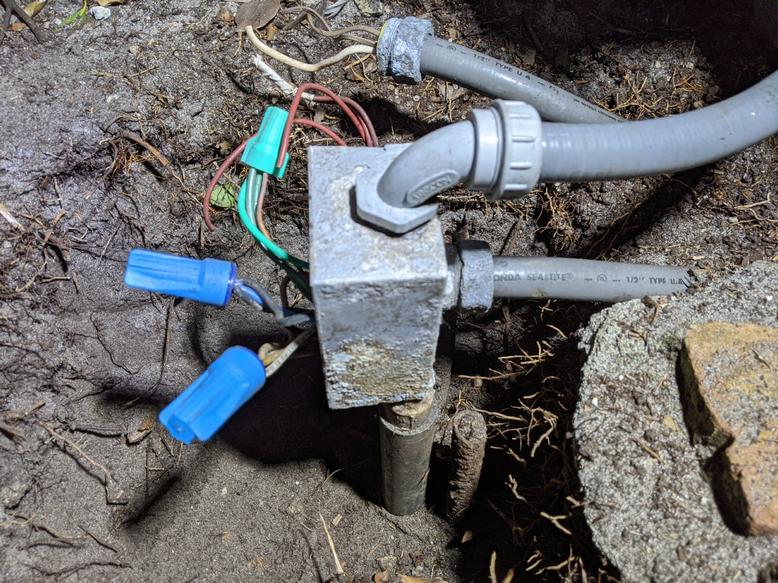
Unfortunately the bottom of this weatherproof box has corroded to the point that the two 1/2" PVC conduits broke away from it.
![Image]()
![Image]()
![Image]()
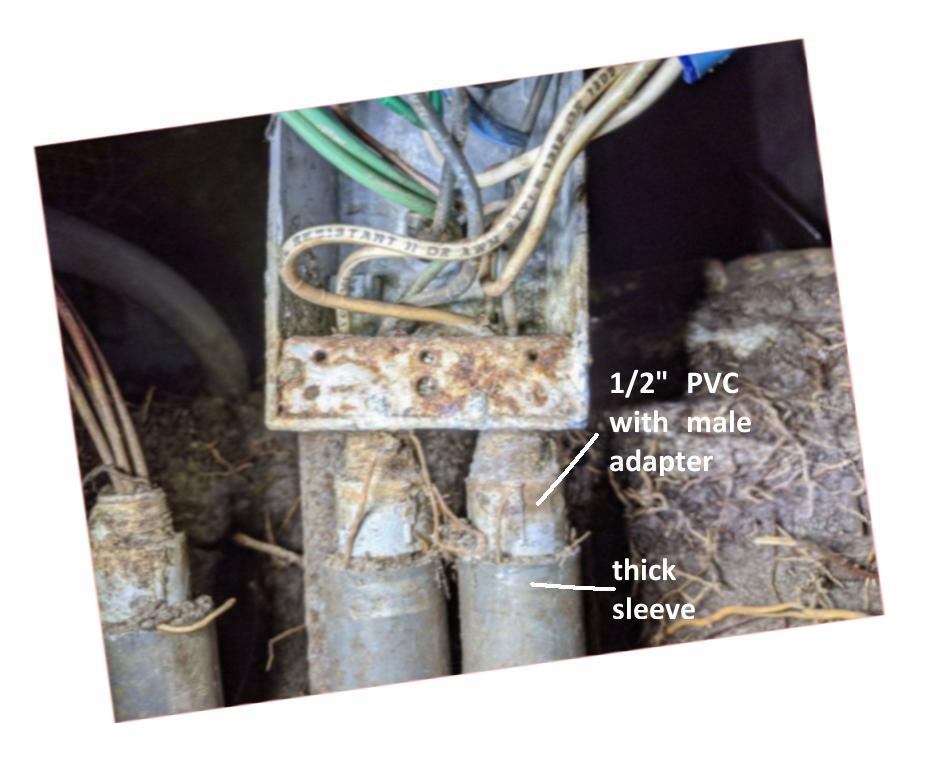
The electrician who installed these PVC conduits, sleeved them with something seemingly as thick (or even thicker) then SCH80 PVC. It feels solid not pliable and rubbery like most I have seen. The sleeves run right up to the male adapter that I need to replace.
![Image]()
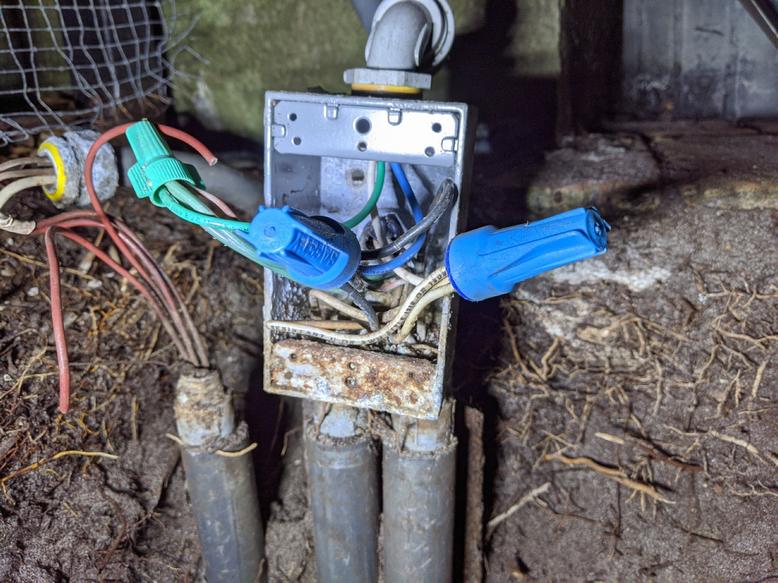
My plan A is to see if I can find the other end of these wiring, there are five conductors inside each wire nut and so I have to find the other end of all five, open these boxes up and see if I can pull back the wires in them and replace with longer wires, if that's successful then I will need to put in couplings where the two male adapters are and a short piece of PVC conduit to raise new box higher above grade.
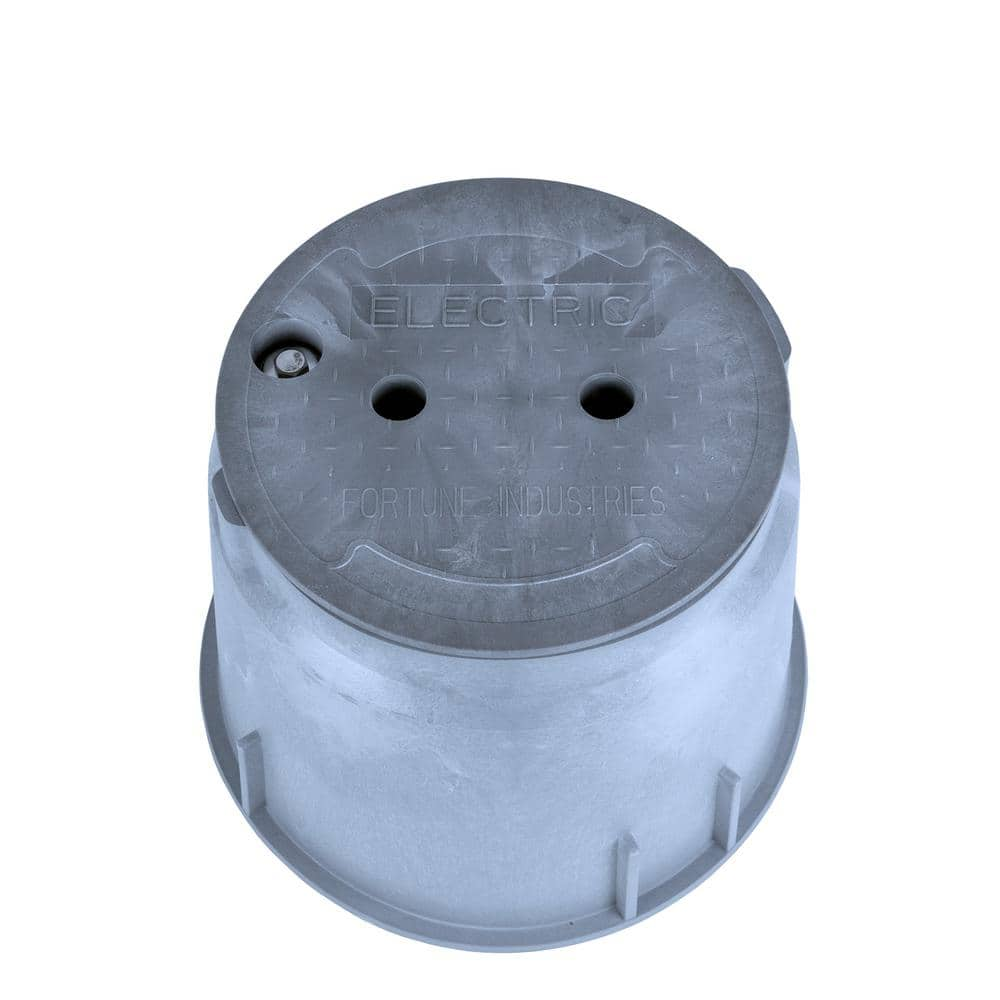
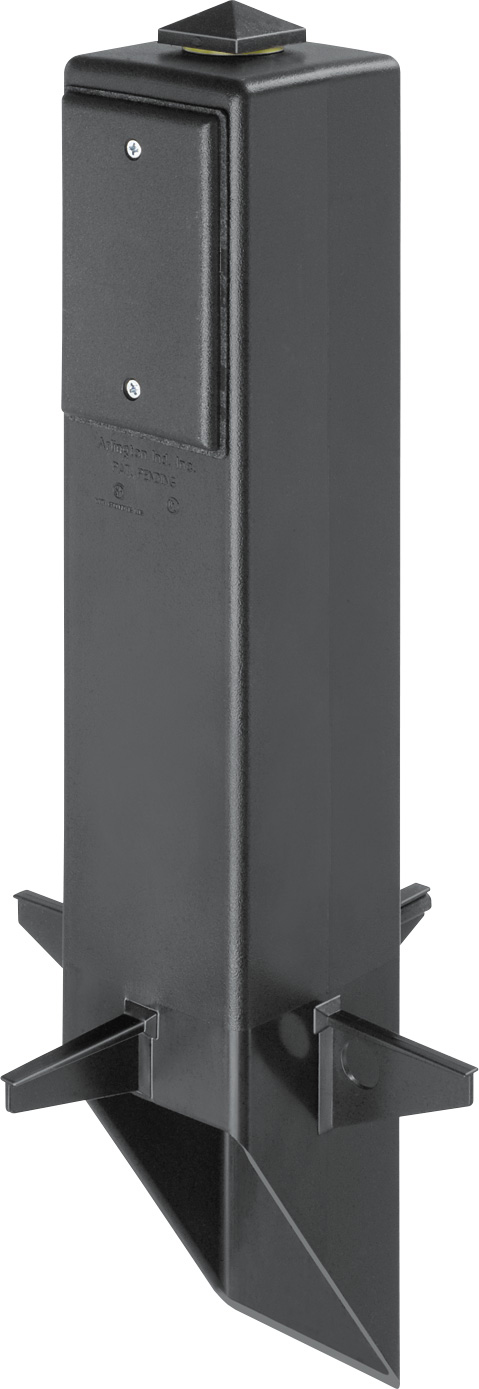
If I cannot find where all the wires go, or if these wires won't pull due to dirt/water sitting in the conduits for ages, then I have to go with a plan B which is to try and cut away the male adapters with the existing wiring in place, then cut back this thick sleeve another inch or so to expose form of the conduit for cementing on new fittings. In that case the new box will sit even lower than the current one. Any recommendation on what kind of box would be best suited for this situation where the box will be right at grade and subject to occasional flooding in south Florida?
The other issue is whether plan A or B, I will need to cut the sleeve back. I am not sure how best to do that. Normally with a rachet PVC tubing cutter this may work because it will cut gradually in evenly with the tubing cutter going around and around, but these two conduits are so close to each other there is no room between them.
One box is low voltage for an old alarm system with phone wires and door bells etc...which I am going to just cut and eliminate.
The other box I need to keep, it goes to a sconce by the gate, a motion light, an outside receptacle and there is a 4th line that goes somewhere I have yet to find the other end.
Unfortunately the bottom of this weatherproof box has corroded to the point that the two 1/2" PVC conduits broke away from it.
The electrician who installed these PVC conduits, sleeved them with something seemingly as thick (or even thicker) then SCH80 PVC. It feels solid not pliable and rubbery like most I have seen. The sleeves run right up to the male adapter that I need to replace.
My plan A is to see if I can find the other end of these wiring, there are five conductors inside each wire nut and so I have to find the other end of all five, open these boxes up and see if I can pull back the wires in them and replace with longer wires, if that's successful then I will need to put in couplings where the two male adapters are and a short piece of PVC conduit to raise new box higher above grade.
If I cannot find where all the wires go, or if these wires won't pull due to dirt/water sitting in the conduits for ages, then I have to go with a plan B which is to try and cut away the male adapters with the existing wiring in place, then cut back this thick sleeve another inch or so to expose form of the conduit for cementing on new fittings. In that case the new box will sit even lower than the current one. Any recommendation on what kind of box would be best suited for this situation where the box will be right at grade and subject to occasional flooding in south Florida?
The other issue is whether plan A or B, I will need to cut the sleeve back. I am not sure how best to do that. Normally with a rachet PVC tubing cutter this may work because it will cut gradually in evenly with the tubing cutter going around and around, but these two conduits are so close to each other there is no room between them.